

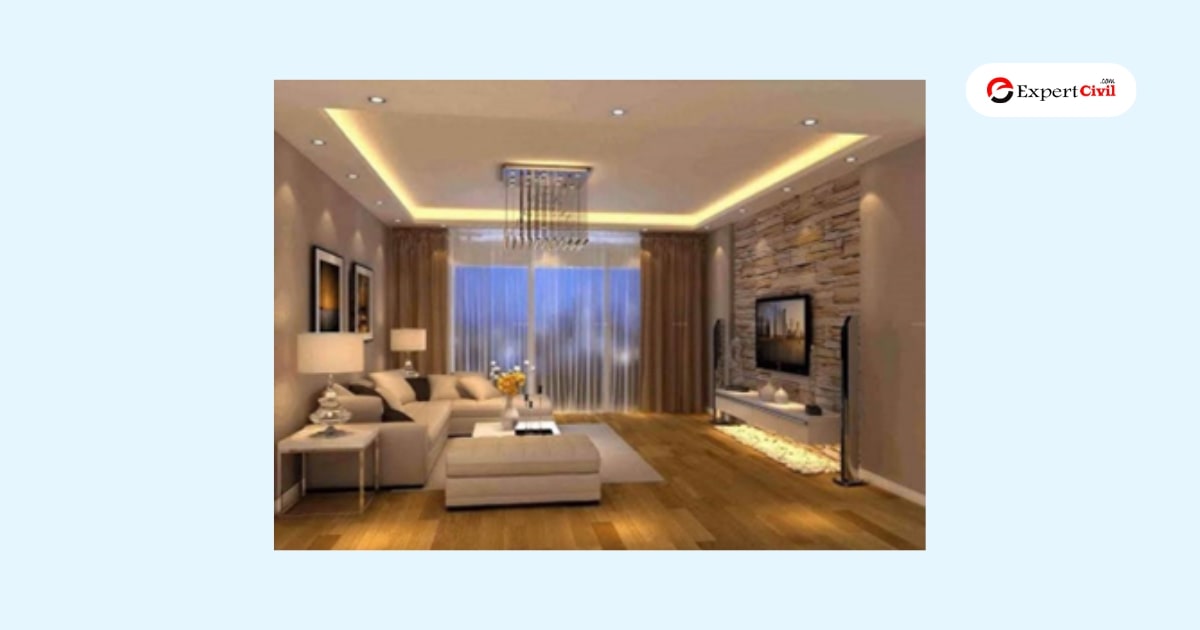
A Tray Ceiling is also known as a recessed ceiling. It resembles a large upside-down tray and is set into a room’s ceiling. It is the ceiling with a raised centre. The ceiling is appeared because of different levels of height. There is a difference of some inches or a foot between the roof and the ceiling depending on the house’s structure.  It is good for heightened and large rooms like halls, it creates visual depth in the room. To create a focal point in the room, we can hang the chandelier or pendant light in the higher centre of the ceiling. You can also paint the scenes and murals in the centre which appeal to you.
Purpose of Tray Ceiling
1. An appealing pleasure to the room
There is lots of richness and detailed work in the room which gives your eyes a catchy effect. They are usually installed on the sides of walls, which gives them depth. Invisible lights give a quite romantic environment to a room.
2. Even the smaller room feels large
The whole surface creates a visual effect because of this you see the room larger than it is. If your room is too small the case tray ceiling will make it feels bigger.
3. Have the feel of extra space
You do not feel too messy and crowded because it feels like you have extra space in the room. It is more visible if you have lower tray ceilings.
4. They can help to hide the inner work of a wall
It is used to hide the ductwork or cable work and somehow the pipes. You can also install it in the living, dining, a bedroom as well as you might use it in the kitchen if you make a tray ceiling in the kitchen. Also read: Vaulted Ceiling.
How To Install a Tray Ceiling in Your Living Room Area?
Step 1: Attach the drywall to the whole ceiling
- With the help of a sharp utility knife and a straightedge tool cut drywall the size of your living room.
- Then, with the coarse sandpaper and a sanding block smoothen the edges.
- Use 2-by-4 T-braces when you going to install the drywall.
- Rent a cradle lift for your benefit, if you are installing the drywall panels by yourself.
- Nail the drywall into the place where you install it, leaving a 6-inch (15 cm) distance between the nails. Giving the extra hit to the nail for breaking down the extra surface material.
Step 2: Tape the joints and smoothen

- Leave the compound for 24 hours and let it dry.
- Then apply a second and third coat.
- Tape the corner areas where the wall meets to ceiling and sandpaper it for smoothening.
Step 3: Determine the width and shape of the lowered area
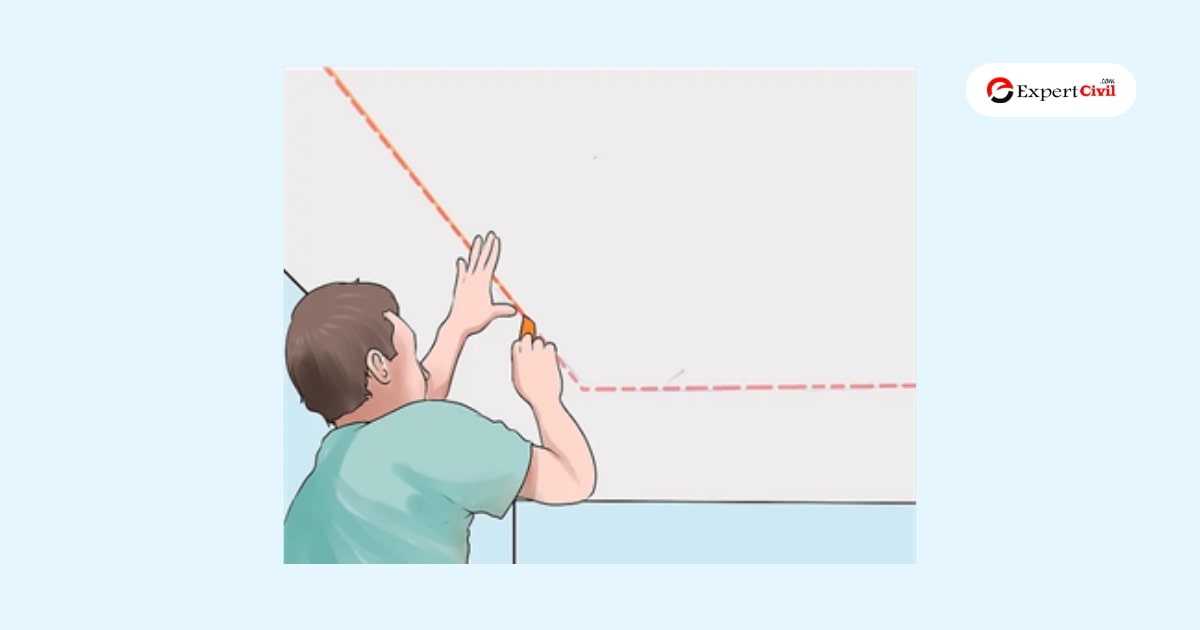
- Tray ceilings are made by adding a lower rim to the ceiling.
- The width of this rim is generally 1 or 2 feet (30 to 61 cm), depending on the room.
- The shape of the lowered area on a tray ceiling is almost equal to the shape of the walls.
- Use a chalk snap line to mark this outline.
Step 4: Install the furring strips to the outlined area
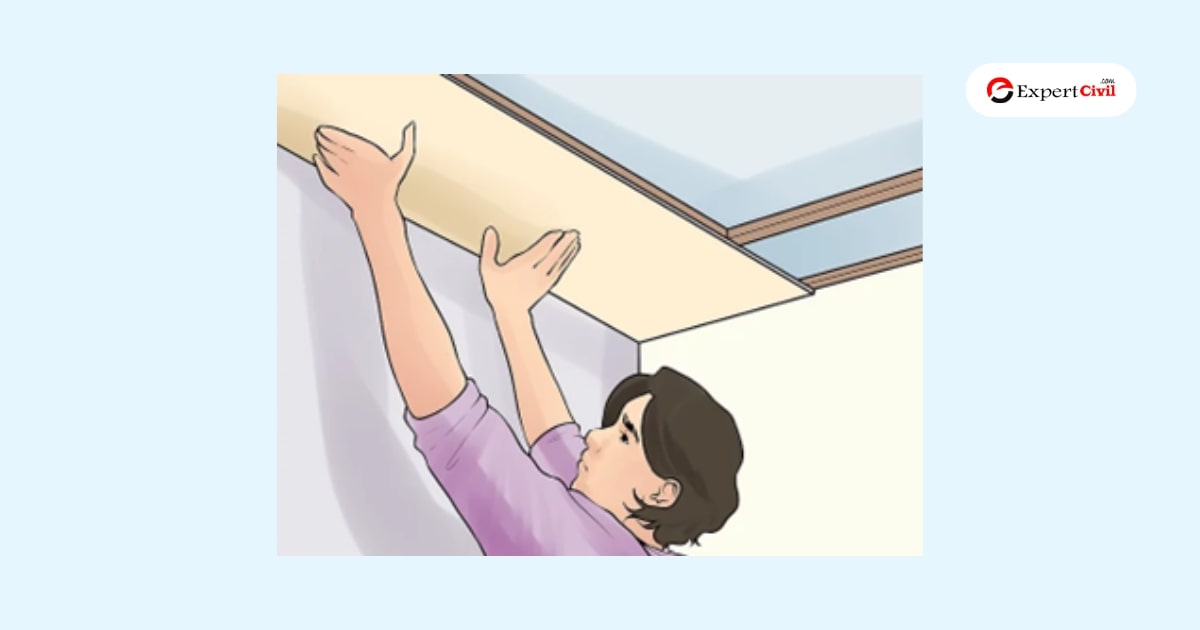
- The size of furring strips is 1-1/2-inch-thick (3.8 cm).
- Attach 1/2-inch-thick (13 mm) drywall to the furring to cover the extra space from the edge of the wall to the edge of the furring strips.
- Now, leave it for 24 hours to let it dry.
Step 5: Bridge the lower section of the ceiling to give a finish
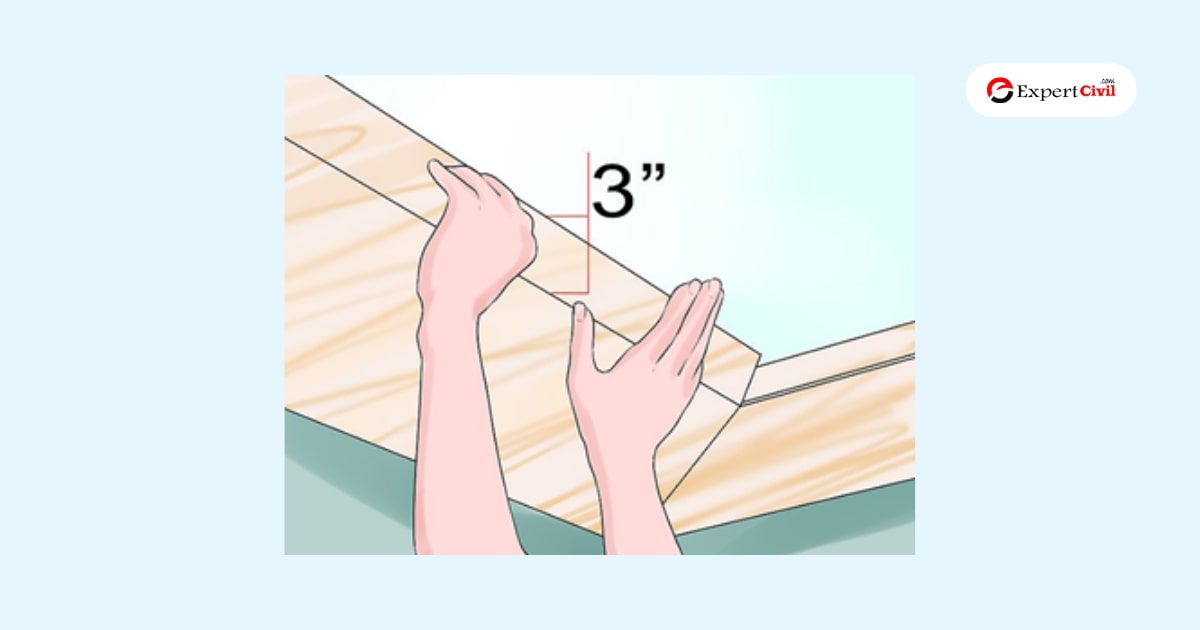
- Push it up with a 3-inch-wide (7.6 cm) vinyl bead. This bead goes through the outline.
- With the help of adhesive chalk secures the bead in the proper place.
- Staple the vinyl bead properly where it ends.
- Conceal the edges with the joint compound but where necessary.
Step 6: Lastly, give a finishing touch
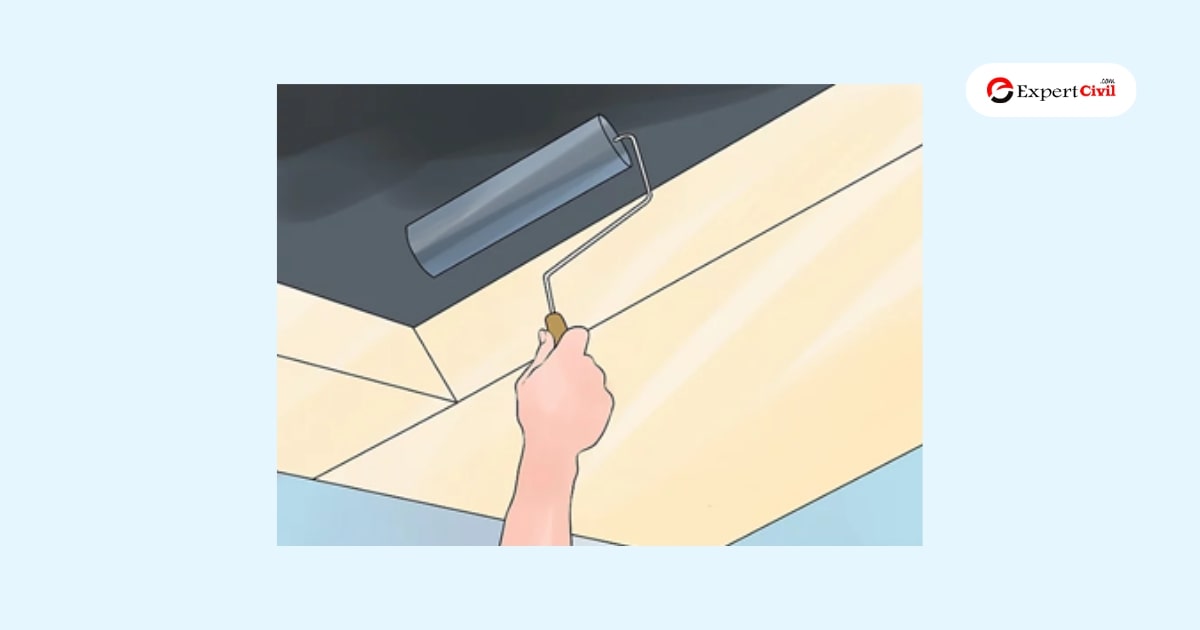
- Apply more chalk if it is necessary.
- Then, coat it with the primer.
- Last you can paint it with choice or make murals, etc.
Also read: False Ceiling: Types of False Ceilings | Pros and Cons of a False Ceiling
Advantages of Tray Ceilings
- It creates the illusion of a larger space in your eyes. The tray ceiling easily creates the illusion of height.
- It is easy to customize according to your choice. You make it more interesting and stylish with different patterns.
- It makes feel the smaller room spacious.
- Tray ceiling allows new and unique types of lighting which allows your mood to feel the environment and the room.
- You also make the focal point of the room by using the chandeliers in the Tray ceiling.
Disadvantages of Tray Ceiling
- Tray ceiling is not completed if you do not use a drop-down border.
- It is very important to consider the height of the ceiling before using the drop-down border.
- If your kitchen does not have a high ceiling then, it is not good for the kitchen.
- Tray ceiling can reduce the cabinet area in the kitchen.
- It requires some extra maintenance and difficulties in cleaning and painting.
Tray Ceiling paint ideas
To make it intimate and cohesive you can paint Tray ceiling and walls with the same color. You can play with the colors like you can paint it white, grey or also go with earthy. Some of the Examples are given below: 
Frequently Asked Questions (FAQs)
What is the Purpose of the Tray Ceiling?
There is lots of richness and detailed work in the room which gives your eyes a catchy effect. They are usually installed on the sides of walls, which gives them depth. Invisible lights give a quite romantic environment to a room.
2. Even the smaller room feels large.
The whole surface creates a visual effect because of this you see the room larger than it is. If your room is too small the case tray ceiling will make it feels bigger.
3. Have the feel of extra space. You do not feel too messy and crowded because it feels like you have extra space in the room. It is more visible if you have lower tray ceilings.
4. They can help to hide the inner work of a wall. It is used to hide the ductwork or cable work and somehow the pipes. You can also install it in the living, dining, a bedroom as well as you might use it in the kitchen if you make a tray ceiling in the kitchen.
What are the Advantages of Tray Ceilings?
2. It is easy to customize according to your choice.
3. It makes feel the smaller room spacious.
4. Tray ceiling allows new and unique types of lighting which allows your mood to feel the environment and the room.
5. You also make the focal point of the room by using the chandeliers in the Tray ceiling.
How to install tray ceiling lighting?
2. Now, cut the wire of the measured dimensions with extra 1-2 inches. It is made of a plastic tube with copper wire inside it. Use the plastic end cap to seal the other end of the wire which does not connect to the power supply. A sharp pair of scissors is best to cut the wire properly.
3. Slide the retaining ring over the other end of the rope light. Insert the connector pins until they meet the wires inside the rope light.
4. Connect the power supply cord to the end of the rope light.
5. Mark the point for lights on the ceiling with the chalk for better and clean results.
6. Put the lights on the ceiling and screw them by mounting clips every 12 inches.
7. Now plug the power plug into the board and turn it on.
Should I paint the tray ceiling the same color as the walls?
How to install a tray ceiling in your living room area?
Step 1: Attach the drywall to the whole ceiling.
Step 2: Tape the joints and smoothen them.
Step 3: Determine the width and shape of the lowered area.
Step 4: Install the furring strips to the outlined area.
Step 5: Bridge the lower section of the ceiling to give a finish.
Step 6: Lastly, give a finishing touch.
Also read: False Ceiling: Types of False Ceilings | Pros and Cons of a False Ceiling
Leave a comment