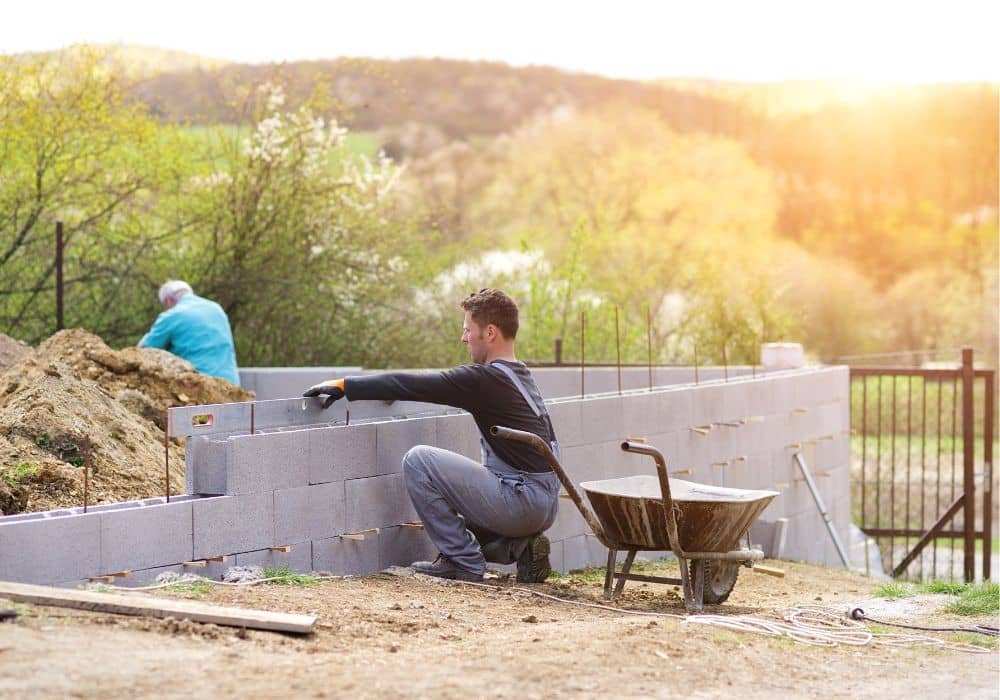
There are many different ways to build a block wall. You can use a small trencher to dig out the dirt, you can stagger the bricks, and you can make a core-filled pilaster.
Choosing Material
When you want to build a block wall, you should first decide on the type of material that you need.
Choosing materials that are solid or stone will help you stack the blocks easier. You should also consider the color and shape of the wall. If you’re working on a small project, you can draft a plan yourself and take the materials with you to the site.
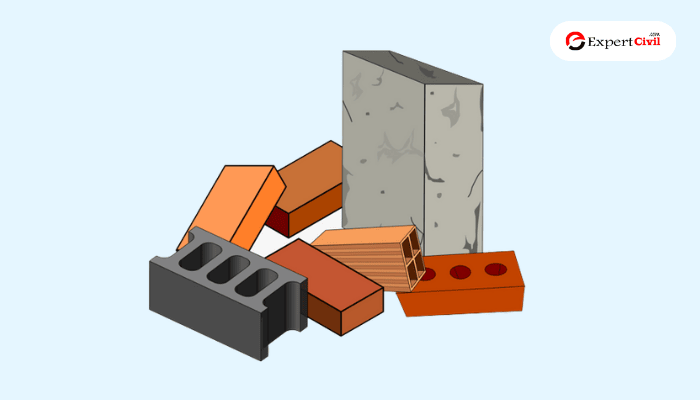
A block wall is a great way to add privacy to a backyard or garden. You can choose from a variety of building products and colors. Concrete wall blocks are the easiest to work with, but stone wall materials are also available.
After you’ve decided on the blocks and the material you’ll need, you should set up a level. This will allow you to check the alignment of your first course of blocks.
Digging The Footings
Digging the footings for your block wall is one of the most important steps in the building process.
Start by measuring and marking a line parallel to your proposed wall’s location. Then, use a spade or power auger to dig two trenches along this line. Make sure that these trenches are at least 1 foot deep and 12 inches wide.
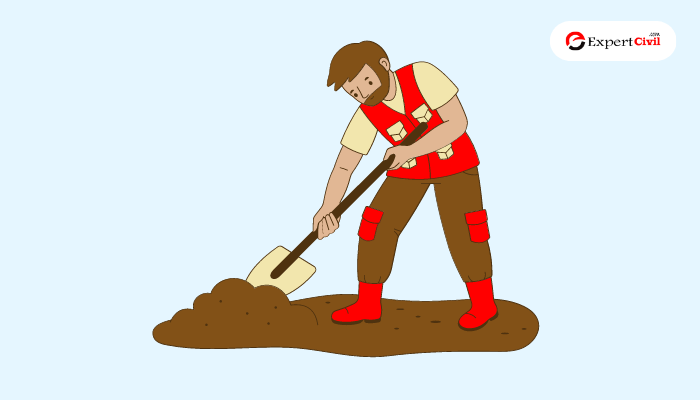
Make sure to mix some gravel into the bottom of each trench before you begin laying the blocks. Once the footings have been dug and prepared, you can begin laying your blocks. Make sure to lay each block as level as possible while keeping in mind that a 1/2-inch gap should be left between each block.
When you are finished building the wall, fill in both sides of the trench with soil and tamp it down firmly. This will help to ensure that your wall is stable and secure. After the wall is completed, you can backfill the remaining space with soil or gravel for extra support.
Staggered Bricks
When constructing a block wall, you must be careful to level each brick so that it is even in both directions.
For this to happen, the first layer of bricks should be placed firmly. The second course of blocks must be level, flush, and staggered. The pattern used for each course will vary depending on the purpose of the wall.
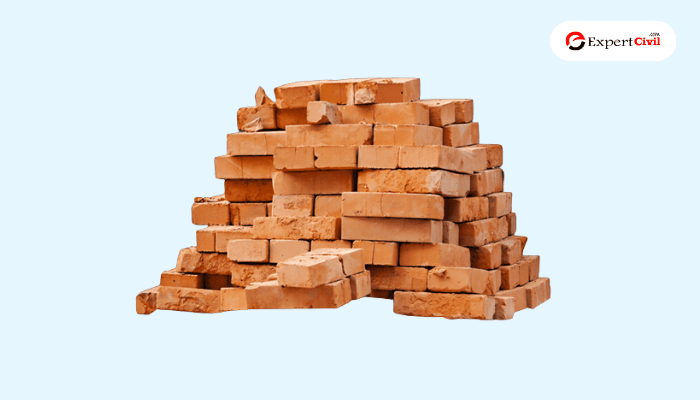
Place a small amount of backfill beneath each block. This will keep the mortar from softening as it is exposed to water. Once each row of blocks is laid, make sure the backfill is tamped down to ensure it is flat.
Next, lay a smooth-top cap block. This is like placing any other block. However, this will also help the final wall stand up to heavy rains. After this, add a layer of paver base to the bottom row of blocks. Finally, if you have any gaps in your wall, fill them with surface-bonding cement.
If the blocks are not level, you may need to cut them in half with a diamond saw. This will allow you to achieve the right spacing for the next row of full blocks. You can also use the bolster to provide a cleaner cut.
Then, mark the location of the wall with a chalk line or spray paint. You can also stake out a trench for the wall. The size of the trench will depend on the height and width of the wall. For a wall that is less than four feet tall, you can skip the string line.
Once the foundation is established, add concrete to the top of the stakes. Let the concrete dry for about two to three days. Then, begin to assemble the blocks.
This is a time-consuming project. The blocks should be fine-tuned as you go.
The wall should be covered with a tarp for the first night. It is important to level the wall properly, remove excess mortar, and clean the walls before proceeding. The retaining wall will be more strong and more attractive if the blocks are correctly placed and the wall is staggered.
Core-Filled Pilasters
You will want to lay out a series of blocks and apply a bit of mortar and stakes to ensure a straight run. To keep the cement blocks in place, you may want to consider a hammer and chisel as well as a pair of string or wire. You will also want to measure the distance between two adjacent blocks in order to determine the height of the middle course.
For maximum efficiency, you will want to make sure the base run is marked with chalk lines. In addition, you will need to inspect the base run after the footing has been removed. You may need to repeat the process several times to reach the desired height. Aside from the obvious, you will also need to use a mason’s string and a level to check the accuracy of your work. You may also want to consult a local building code official before taking on this challenge.
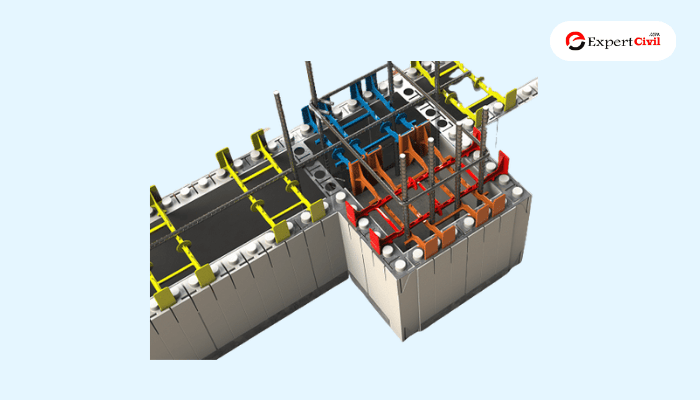
As a result, you will need to take advantage of all the information available to you. For example, you will need to know that a core-filled pilaster has a higher compression strength than a similar size cinder block. You will also need to know that a corner block has a higher vertical level than a full-size brick. You may even need to install a vertical reinforcement to keep your walls from caving in.
The best way to determine which method is the best for your particular application is to consult a local expert. This is not only the best way to ensure a solid finish, but also the cheapest. However, you do not want to go overboard in the name of cheapness.
Also Read: Types of Boundary Walls
Takeaway
Constructing a block wall is a fairly straightforward process that can be completed in just a few steps. With the right tools and materials on hand, you can create an attractive, durable boundary that will last for many years to come.
With a little bit of extra effort and care, you can create a beautiful outdoor living space that your family and friends will enjoy for years to come.

This is a comprehensive guide to building a block wall. The detailed instructions from choosing materials to digging footing are incredibly helpful. With careful planning and attention to detail, anyone can create a sturdy and attractive boundary. Great advice for a lasting result.
Building a block wall requires careful planning and attention to detail, starting with choosing the right materials and ensuring proper footing. Staggering bricks and using techniques like inserting pillars will enhance the wall’s stability and appearance. Patience is key, as leveling and cutting blocks ensure a solid and long-lasting structure. With the right tools and methodical execution, you can create a functional and attractive boundary for any space.